Most windowsill herb gardens die within a month. Not because herbs are difficult, but because the setup is wrong from the start – the wrong pot, the wrong position, the wrong combination of plants packed together and watered on the same schedule. Fix the setup and herbs are genuinely low-maintenance. Leave it wrong and no amount of attention will help.
Setting up a kitchen windowsill herb garden that actually survives is mostly a one-time job. Once you have chosen the right herbs for your light, potted them correctly, and placed them well, the ongoing work is minimal. This is what to do.
Step 1: Assess Your Window Before You Buy Anything
The single most important factor is light. Before buying a single pot or plant, spend a day noticing how much direct sun your kitchen window actually gets. South-facing windows get the most – 6 or more hours of direct sun in summer, which suits almost any herb. West-facing windows get strong afternoon light, which works well. East-facing windows get gentler morning sun – fine for parsley, chives, and mint, but too dim for basil, rosemary, or thyme. North-facing windows rarely work for herbs without supplemental lighting.
Be honest about this. A dim north-facing window cannot be compensated for with a sunnier pot or better soil. If your kitchen genuinely does not get enough light, a small grow light mounted under a cabinet or on a shelf is a straightforward solution – and worth it if you want herbs year-round regardless of season or orientation.
Also check for draughts. A windowsill above a radiator or next to a frequently opened window creates temperature swings that stress herbs, particularly basil. Consistent warmth matters more than peak temperature.
Step 2: Choose the Right Pots
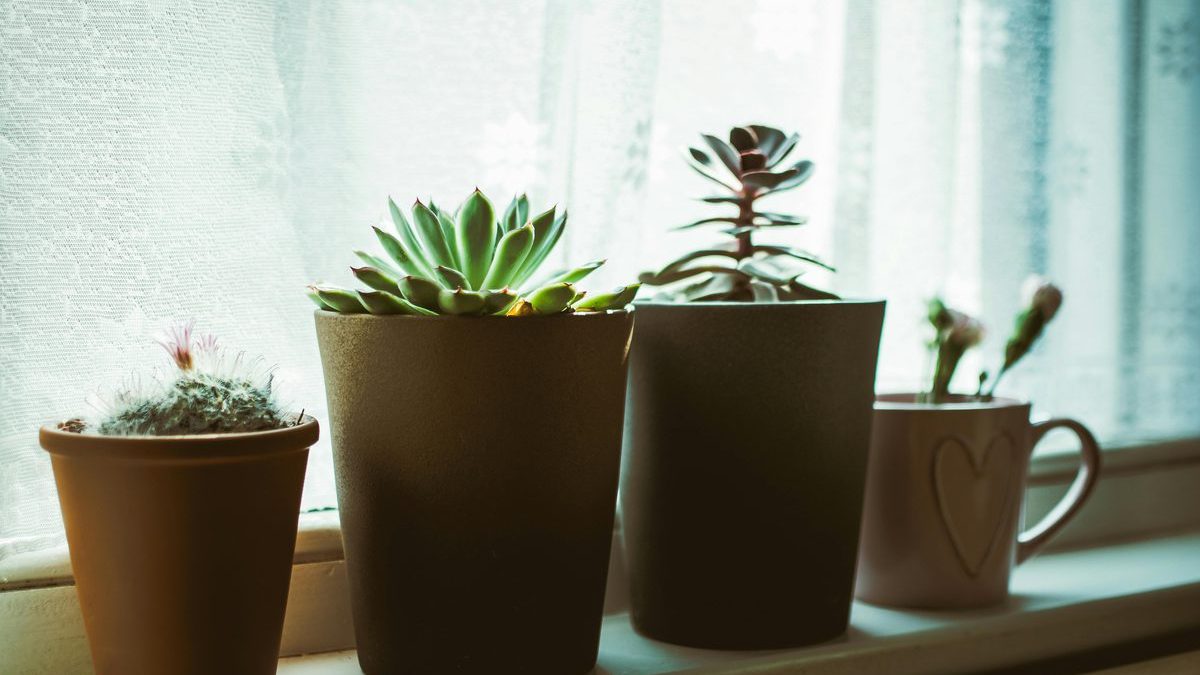
Terracotta is the best material for kitchen herbs, and the reason is simple: it is porous. Moisture evaporates through the walls as well as through the drainage holes, which makes overwatering much harder. The number one cause of herb death on kitchen windowsills is root rot from waterlogged soil – terracotta makes this significantly less likely than plastic or glazed ceramic.
Every pot must have drainage holes. No exceptions. A pot without drainage is a slow death sentence – water collects at the bottom, oxygen is displaced from the roots, and rot follows within weeks. If you have a decorative pot you love that has no drainage hole, use it as an outer sleeve and put the herb in a plain terracotta pot inside it. Empty the sleeve after watering.
Size matters too. Herbs in pots that are too small dry out very quickly and become root-bound fast. A 10-15cm diameter pot is the minimum for a single herb. Bigger is usually better – more soil volume means more even moisture retention and more room for roots to develop.
Step 3: Pick Herbs That Suit Your Window
The biggest mistake in windowsill herb gardens is planting everything together regardless of compatibility. Different herbs have genuinely different needs, and grouping them wrong means someone always suffers.
For a bright south- or west-facing window: basil, thyme, rosemary, oregano, and chives all work. This is the full menu – pick what you actually cook with.
For a moderate east-facing window: mint, parsley, chives, and coriander. These tolerate lower light better than the Mediterranean herbs. Skip rosemary and basil here – they will survive but will not thrive.
One herb per pot. This is important. Mint spreads aggressively and will crowd out everything else if given the chance. Basil and thyme have completely different water needs – water for one is overwatering for the other. Shared pots always compromise at least one occupant. Keep herbs separate and water each one according to what it actually needs.
Step 4: Arrange for Light and Access
Place the tallest herbs at the back and shorter ones at the front so nothing is shaded by its neighbour. Rotate each pot a quarter turn every week – light comes from one direction on a windowsill, and plants that are not rotated lean hard toward the glass and become lopsided over time.
Keep cooking herbs within arm’s reach of where you actually cook. This sounds obvious but it matters – herbs you have to walk across the kitchen to reach get harvested less often. Less harvesting means more bolting. A pot of basil next to the hob gets used constantly; the same pot on a shelf two metres away gets forgotten.
If you are setting up multiple pots, group Mediterranean herbs (thyme, rosemary, oregano, sage) on one side and moisture-loving herbs (basil, mint, parsley) on the other. The grouping makes watering easier and more accurate – you are not making the same watering decision for plants with genuinely different needs.
Step 5: Establish a Watering Routine That Works
The same rule applies here as with all container plants: check the soil before you water, not the calendar. Push a finger into the top centimetre of soil. Damp – leave it. Dry – water now, thoroughly, until it drains from the bottom.
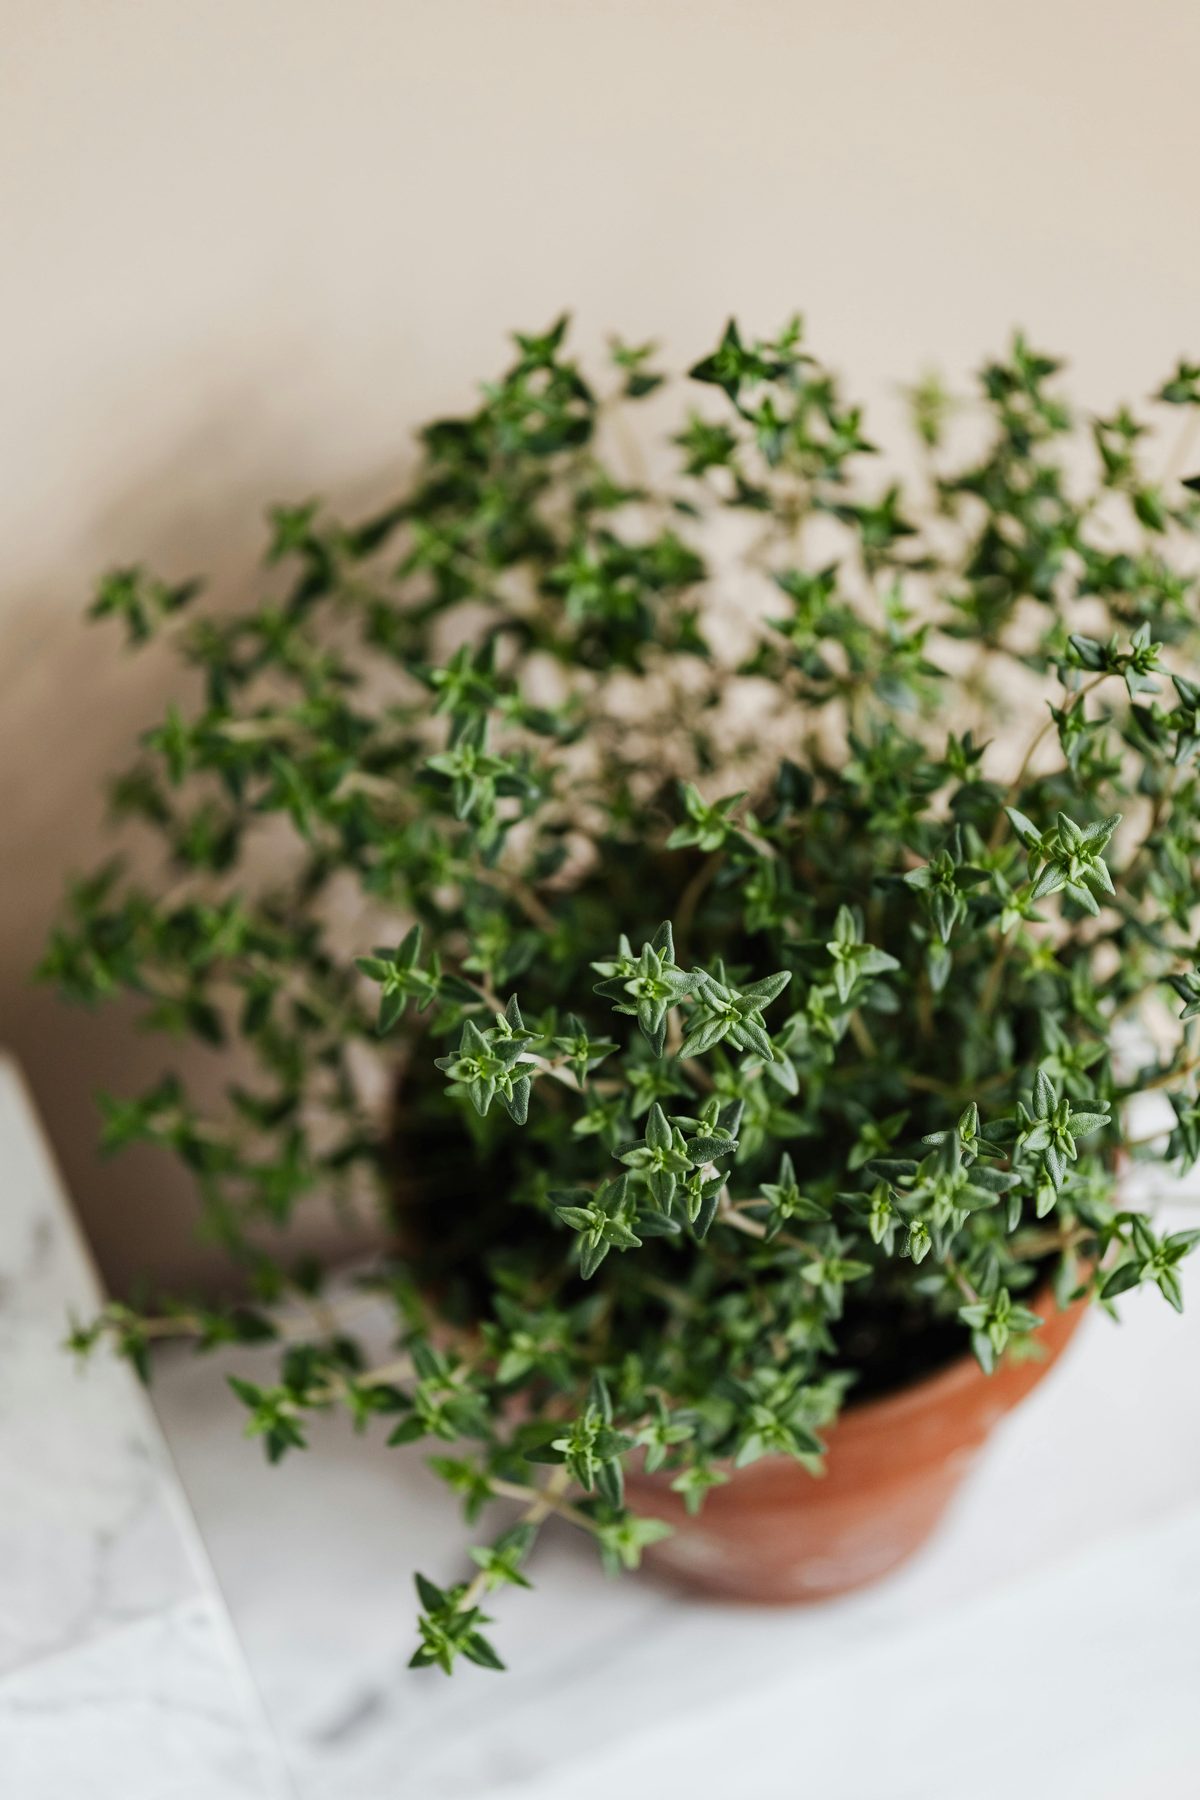
Mediterranean herbs like thyme and rosemary prefer to dry out more between waterings. Basil and parsley like more consistent moisture. Mint sits somewhere in between – it tolerates wetter conditions than most but still does not want to sit in water. Once you know your window, your pots, and your herbs, you will develop a feel for this quickly. In a warm sunny window in summer, basil may need water daily. In a cooler east-facing window in winter, thyme might only need water twice a week.
If you are going away for a few days, move pots away from direct sun – it slows moisture loss significantly. For more on managing herbs long-term, including harvesting techniques that keep plants productive, see our guide to growing herbs indoors year-round.